How to Install Celo VPN Windows Client
NOTE: If you have a previous versions of OpenVPN installed, please un-install before continuing with the steps below.
NOTE: If you have a previous versions of OpenVPN installed, please un-install before continuing with the steps below.
1. Download the OpenVPN Windows Client from - HERE
2. On your computer, navigate to the location where the downloaded file is (eg Downloads folder)
3. Double click on celovpn.exe file
NOTE: If Virus Scanner/Windows Defender pick up the .exe, please allow/exclude it
4. Click on Install
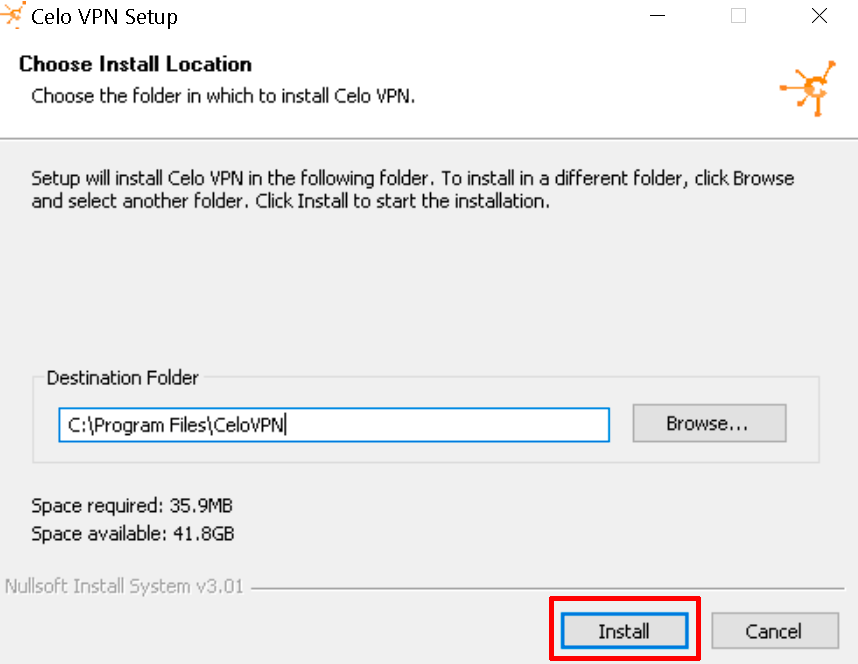
5. Once install has finished, double click on Celo VPN icon on your desktop
2. On your computer, navigate to the location where the downloaded file is (eg Downloads folder)
3. Double click on celovpn.exe file
NOTE: If Virus Scanner/Windows Defender pick up the .exe, please allow/exclude it
4. Click on Install

5. Once install has finished, double click on Celo VPN icon on your desktop
6. Enter in your VPN username (not your email) and password
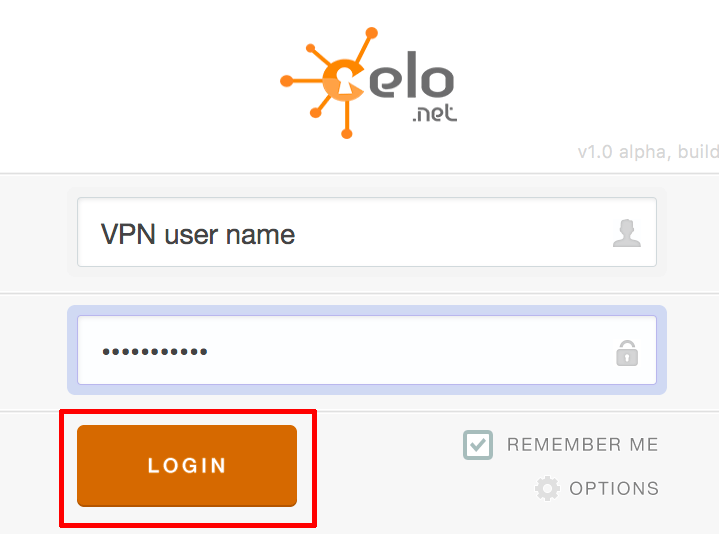
7. Click on the Server/Location Name or Flag icon to change server and port
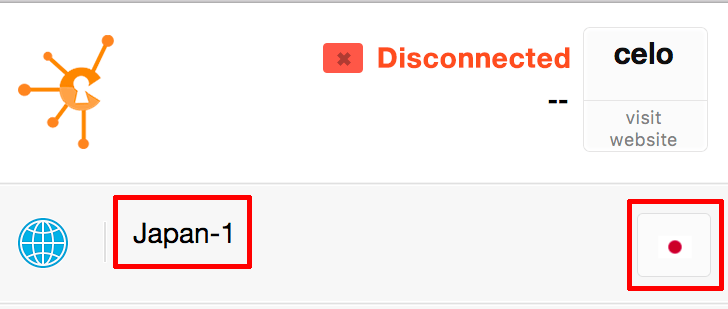
8. From the list Select a server/location and a port then click Connect
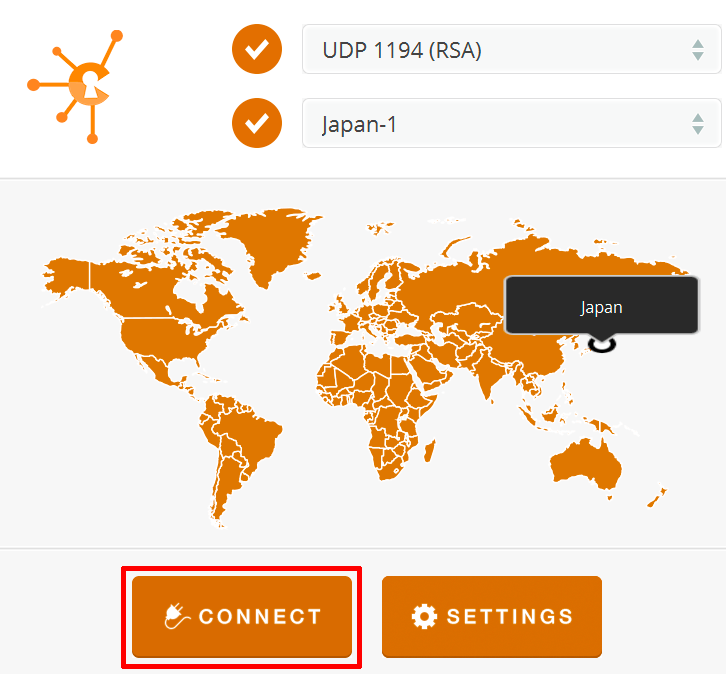
The Celo globe icon in your taskbar will change to green to show you are connected

HANDY TIPS
* To return to the previous screen within the Celo app, click the Celo icon in the top left corner


7. Click on the Server/Location Name or Flag icon to change server and port

8. From the list Select a server/location and a port then click Connect

The Celo globe icon in your taskbar will change to green to show you are connected

HANDY TIPS
* To return to the previous screen within the Celo app, click the Celo icon in the top left corner

* To bring up the main screen/window of the Celo app, right click the Celo globe icon > Status

* If you need to change credentials, right click on the Celo icon in the task bar > Log Out
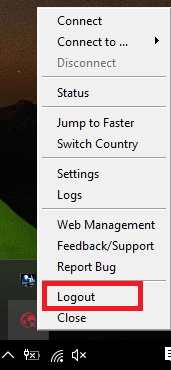

* If you need to change credentials, right click on the Celo icon in the task bar > Log Out

* A good way to check your system for DNS leaks, visit DNS TEST LEAK and click on "Extended Test" This should show you a different IP to what you really have and different DNS servers

