How to check and fix DNS Leaks in Windows
1. Visit DNSLEAKTEST
2. Click on Extended Test button
3. Wait for the Test to complete. If you see an IP/Country show up that is in the same country as your physical location, your computer is leaking.
4. Open up Network and Sharing Center > Change Adapter Settings
5. Open up the properties of your main network adapter that is connected to your home network/internet. The default name is usally "Ethernet" or "Local Area Connection"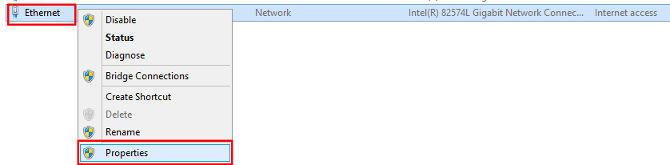
6. Select Internet Protocol Version 4 (TCP/IP) > Properties
7. Select "Use the following DNS server addresses"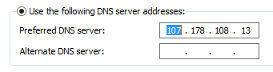
8. Enter in one of our DNS servers listed HERE and save those settings
9. Go back to DNSLEAKTEST site and run the extended test again
Windows 10
- If you still see leaks, please disable/uncheck IPv6 on your main network adapter
