How to setup your Tomoato flashed router with OpenVPN
1. Download our OpenVPN Server Profiles from HERE and extract the .ZIP file.
2. Navigate to where you extract the .ZIP file and choose a server/propfile you would like to setup
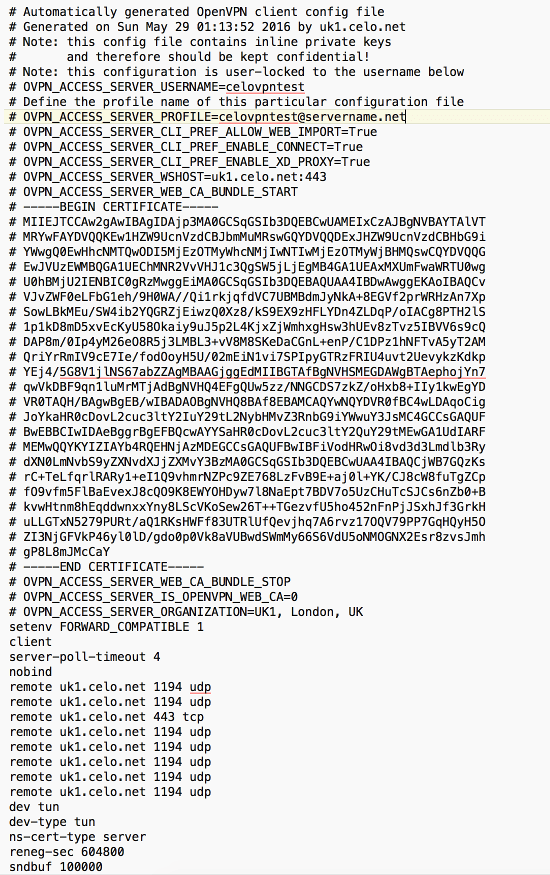
3. Open the .ovpn file up in your favourite text editor (notepad, wordpad, notepad++, gedit, TextEdit etc). It should look something like the below
4. Log into your tomato router via your web browser
5. Click on VPN Tunneling > OpenVPN Client

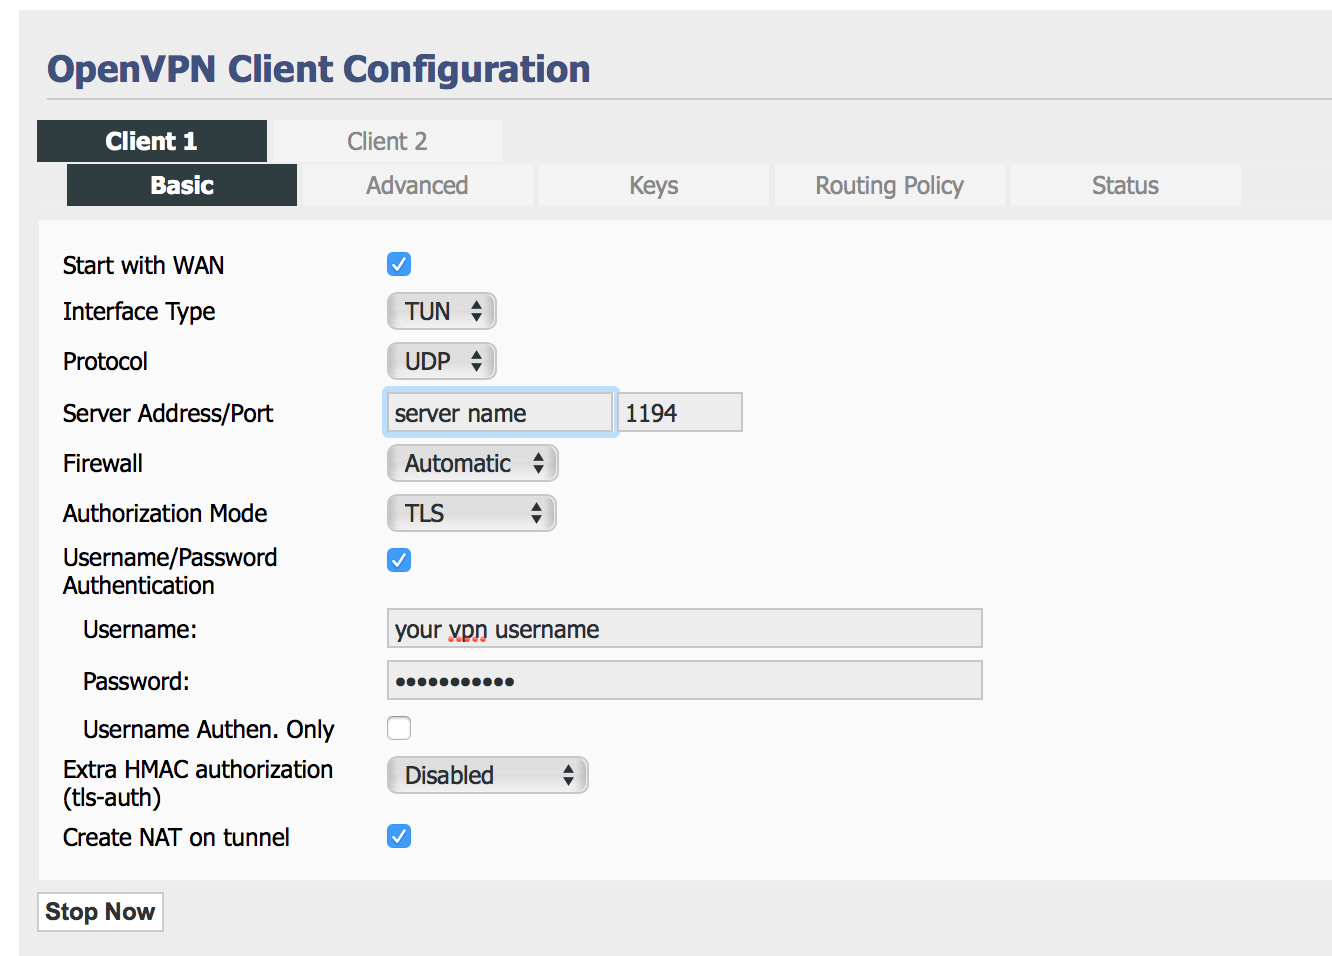
6. Set your settings to look like below.
- Server name = Enter in the server name you want to setup/connect. For example ru1.celo.net etc
- Username and Password = Your VPN username and password
6. Click on Advanced tab
- Copy and paste the below lines in the "Custom Configuration" text box
tls-crypt ta.key 1
from <tls-crypt> to </tls-crypt>
like show in the below image

Your Adavcned settings shiould look like the below

7. Click on Keys
8. Go back to your text editor, copy and paste the lines between <ca> lines like below into "Certificate Authority" text box

11. Click on the Save button
12. Enable IPv6


13. Click on Save
14. Click on Status > Start Now button
13. If successfully connected your Statistics should show like below

You can also check the log to make sure you are connected

In the log, look out for "Initialization Sequence Completed"

